About this deal
Learn how to make your very own DIY hair scrunchie with this easy step-by-step tutorial. I’ll show you how to sew a seamless, professional-looking scrunchie with a sewing machine or by hand. Plus, I’ll give you three easy options to add bows or tails to your custom scrunchies. DIY Hair Scrunchies Smooth and shiny fabrics like silk, satin, or polyester blends can be quite slippery. So they might not hold your ponytail as tightly as other fabrics. This how to make a scrunchie tutorial will show you how to make this popular hair accessory in 6 sizes with either a hand stitch or sewing machine stitch.
Cut the fabric 2.5 to 3 times the length of the elastic. For the fabric height, cut it double your desired finished size plus ½ inch for seam allowances. Note on Elastic Lengths for Scrunchies: And there you go! Three bow variations to add to your handmade scrunchies! Have questions? Join the Facebook Group! Slippery fabrics like polyester or silk tend to fall out of hair more easily, so look for fabrics like quilting cotton that will grab the hair slightly. On the other hand, a silk scrunchie won't pull or damage hair.
Filter by
I like to use a safety pin to pin one end elastic to the outside of the tube. This helps me not lose the elastic inside the tube while I work. Turn the bow inside out using the hole in the middle. Use a blunt pencil to push the corners out properly. 4. sew the hole closed If you don’t have access to a printer, here are the measurements so you can draw your own: it’s 11 6/8″ (30cm) wide, 2 6/8″ (7cm) tall in the middle, and almost 4″ (10cm) tall at the highest point. 2. Fold the bow in half, sew it & leave a gap in the middle You don’t need to turn anything inside out. You don’t need to close a hole at the end. I’m excited to share this! Or use the cutting measurements above. I’m using a rotary cutter and mat to cut my fabric. 2. Fold the top & bottom edges by 1/2″ / 1.3cm
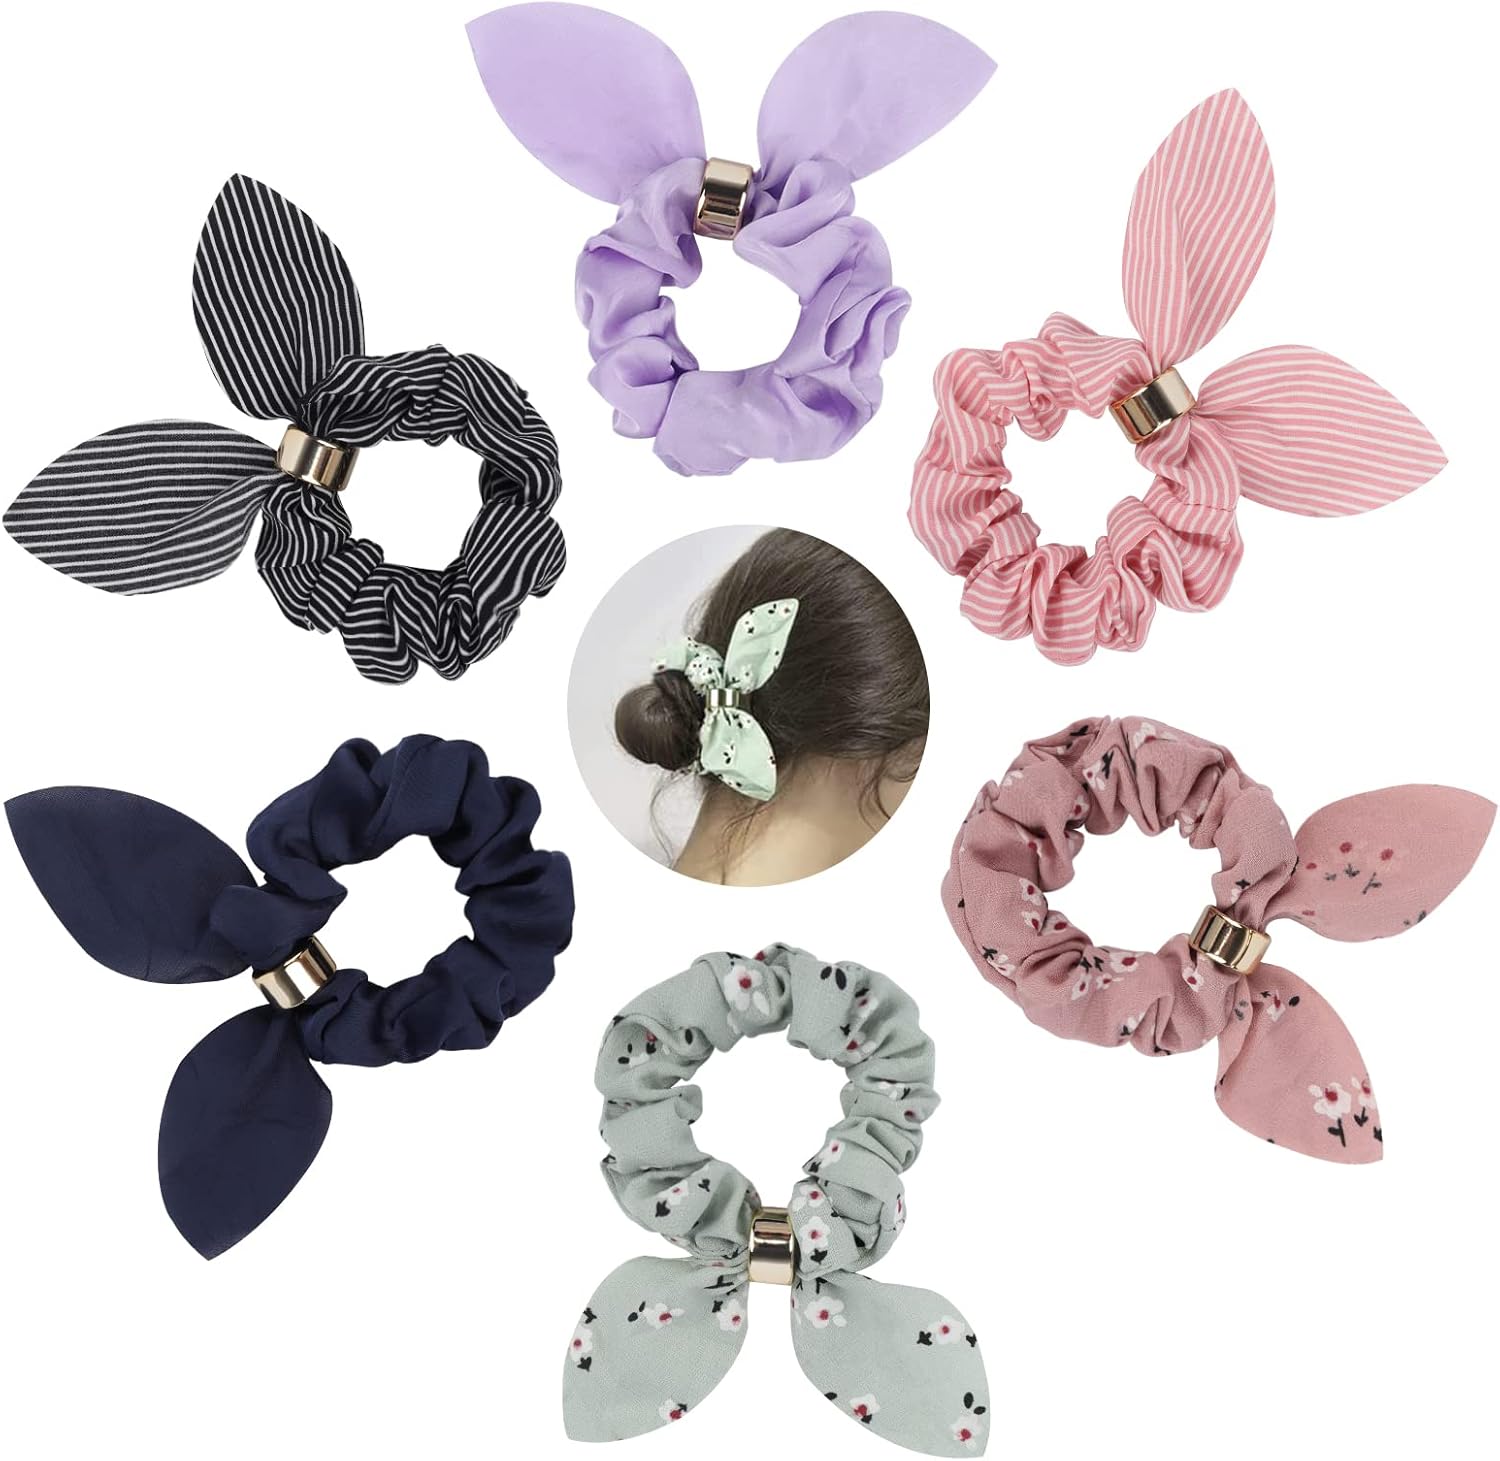
To wear the scrunchie as a bracelet: You may want to adjust the length of the elastic to fit comfortably around your wrist. Use a measuring tape to measure your wrist, and add 1/2″ to the result. How to Sew a Scrunchie When looking at fabric patterns and different types of fabric, consider that you will be cutting a narrow strip. Look for small motifs such as tiny flowers, spots, and stripes. Also, for the perfect scrunchie, think about whether you want a subtle or bold color that will compliment your skin tone and hair color. What Elastic is Best for Scrunchies You can also make a scrunchie without sewing by substituting glue for the stitching. I recommend using a strong, fast-drying fabric glue. But, a hot glue gun would do in a pinch. A scrunchie is a fabric-covered hairband with gathered fabric on the outside and a hidden elastic inside. They are great for matching your outfit and adding a pop of color to your hair. SIZES - The smaller sizes have less fabric and slightly shorter elastic for a more subtle effect. The larger scrunchie sizea are more of a traditional design where you see lots of fluffy, gathered fabric around your hair.
Step 1: Cut 1 piece from the scarf pattern. Take care to arrange the pattern piece on a twice-folded piece of fabric, as described in the template PDF. (You should have 2 folds, and thus four layers of fabric. The unfolded piece looks like a long, skinny oval.) Then, once you’ve finished making the bow piece, tie it onto the scrunchie. And, if you are worried about the knot untying, you can secure it with a few hand stitches or a dab of fabric glue. How to Make a Scarf Bow Scrunchie Now attach the safety pin to the end of the elastic and thread it through the tube. Make sure you pin the first end so it doesn't pull all the way through by mistake. Your fabric will gather on top of the elastic. Step 5: How to Make a Scrunchie - Thread the elastic Step 6 - Stitch the Elastic Step 1: Cut a rectangle of fabric that measures 22″ long by 3″ wide. Fold the fabric piece in half lengthwise with the right sides together. Pin in place.
 Great Deal